Cookie Warning
This website stores data such as cookies to enable site functionality including analytics and personalization. By using this website, you automatically accept that we use cookies.

GETTING STARTED
First steps
What you need to have
1. A CAD model including one, or more parts (parts don’t have to be enclosed volumes, they also can be open shell structures). You save the model as STL (both binary and ASCII accepted), OBJ, or OFF file(s)*. Each part into separate file.**
2. A project file, which includes instructions about model setup and behavior, such as: Part name
What you can also provide (but not mandatory)
A configuration file, which controls the outlook of the presentation, such as:
What you get
A presentation in HTML format, so anyone can see your model without installing CAD programs, or viewers. Everyone has at least one web browser*** installed on his/her machine. The presentation is using WebGL 2.0 technology, which is supported by the modern browsers (Firefox, or any browser with Chromium engine [yes, latest MS Edge too!])
To do
A project file, which includes instructions about model setup and behavior, such as: Part name

ALWAYS EASIER WITH AN EXAMPLE
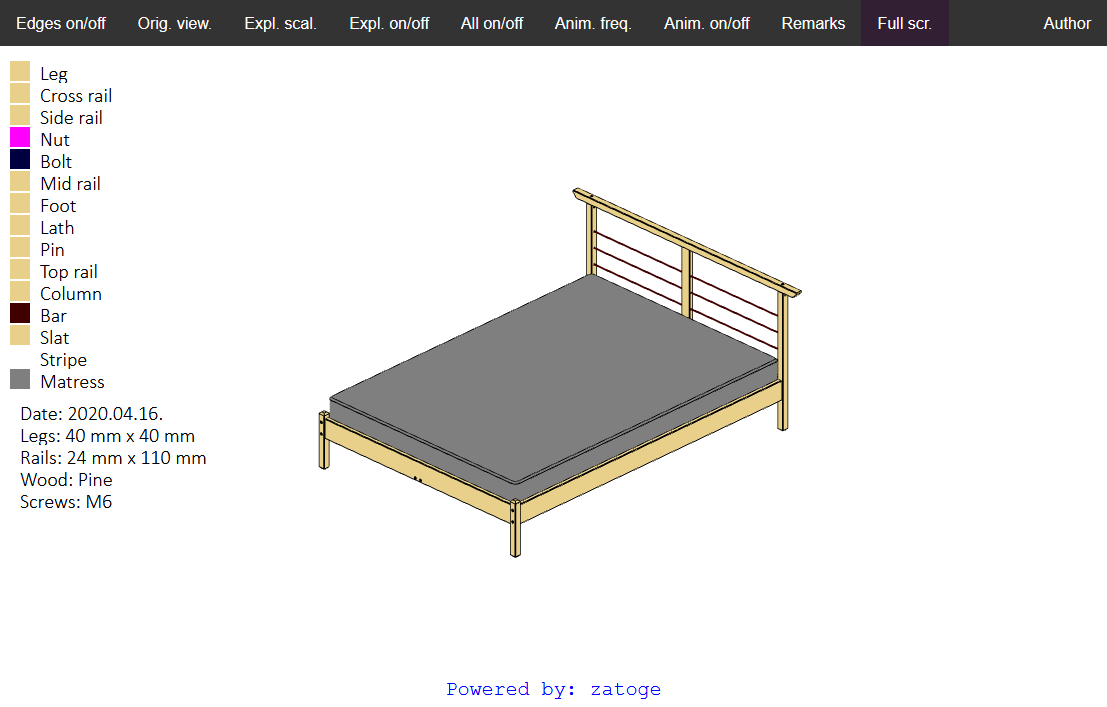
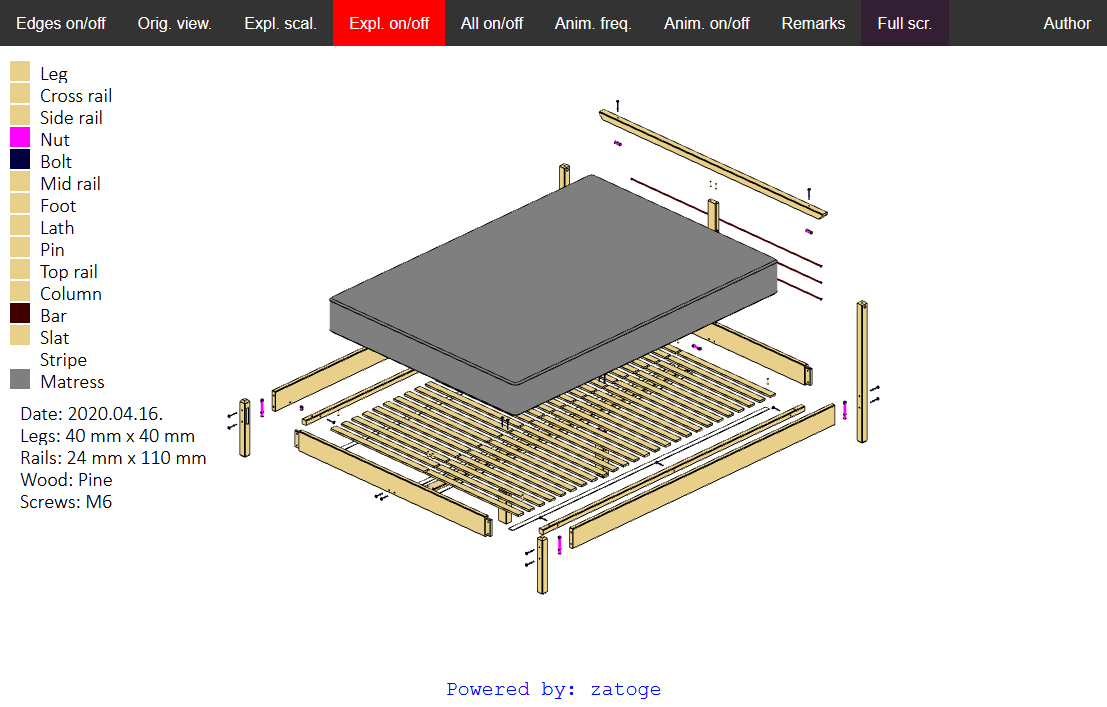
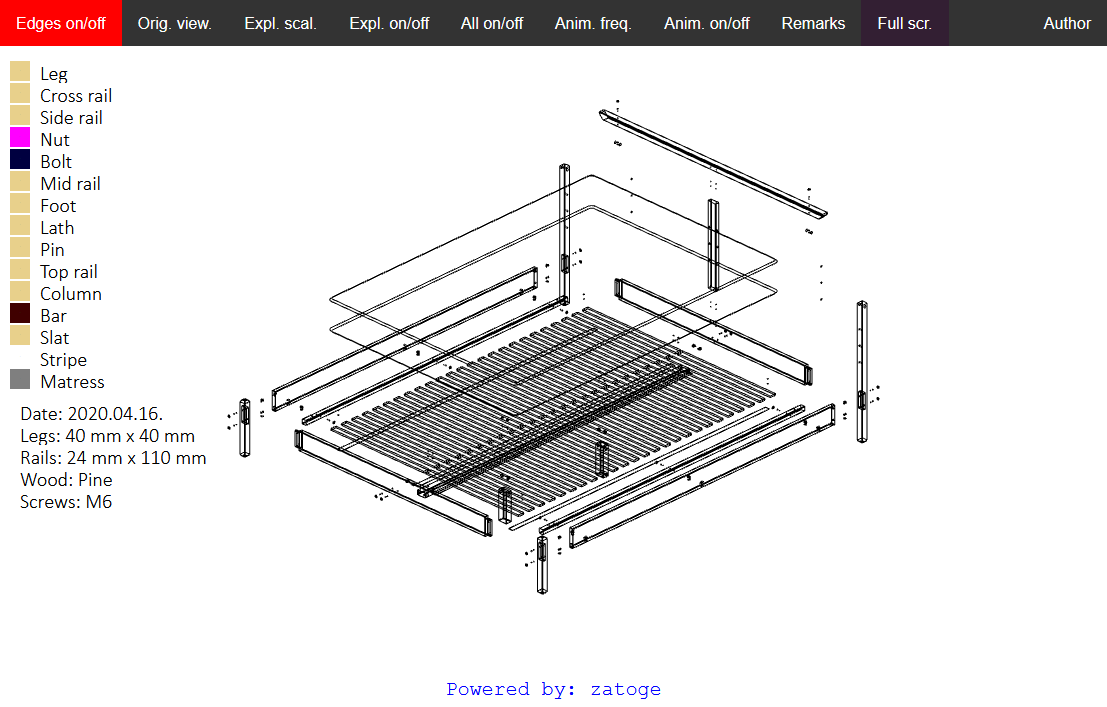
Despite the relative detailed description above, it still might be a bit fuzzy, especially for first time users. This is why we provide an example project (input and output as well). This will be a flat-pack bed assembly the same as you see in the pictures below.


